Monday, 27 October 2014 - , , , , , , , 0 comments

HALLOWEEN!! : 'Melted' Apples


I'm a great one for devising alternative sweet treats for occasions such as Halloween and this simple low fat idea appeals to adults and children alike! 
My 'melted' apples make a delicious snack or warm dessert served on their own or with some natural yoghurt.
They look like toffee apples that have melted and gone a little wonky for Halloween...Infact, they are simply slow-baked apples in their own natural 'toffee', dusted with a light shimmer of icing sugar.
The sticks are purely for decoration as the apples are too soft to stay perched on the top. 

My 'melted' apples are 0pp/approx.55kcal each

***

 YOU WILL NEED

Small eating/garden apples
1 teaspoon icing sugar


Simply wash the apples and leave whole. 
Place on a baking tray.


Make a hole in each apple. This is to insert the stick into once baked.
I used a chopstick.


Bake at 150C/300F/Gas2 for around 2 hours until the apples are really soft and the skin  has hardened but isn't burnt. Some natural syrup will leak out of the apples.


While still hot, scoop up some of the syrup and place onto the apples. This will go crisp when cooled and tastes of burnt toffee.
Place sticks into the holes in the apples.


Pop the apples carefully into cupcake cases. Dust lightly with icing sugar through a fine sieve. (A tea strainer is ideal for this). 


You'll need 1 teaspoon of icing sugar for up to about 10 apples-it only needs to be a very fine layer.


Serve slightly warm as a pudding or outside in the cold Autumnal air-you can eat them with your fingers by holding onto the stalk but take care as they are very soft!

***

Sweet little apples!

***


***

Have you seen my YouTube channel yet?
Click HERE to go straight to it and see some of my dishes being made in the
Slice of Slim kitchen!


Don't forget to subscribe then you will be automatically updated every time I make a new film. 
Tuesday, 21 October 2014 - , , , , , , , , 0 comments

RECIPE : Celeriac & Garlic Mash


I'm completely in love with this mash at the moment! Now the weather is changing, those cravings for comfort foods are setting in fast, so it's important to find ways to satisfy them without sabotaging our efforts.

***

I find that this celeriac and garlic mash ticks all the boxes for me-it's bland, creamy and has the perfect thick, smooth texture for carrying sauces and gravies-almost turning silky when drenched in a broth-like liquid.
It's very easy to make and even better-it's 0sp/0pp/approx.95kcal per portion!
Very easy to covert to NoCount/Filling&Healthy or SimpleStart too-simply swap the very low fat spread for olive oil from your daily allowance.

***

YOU WILL NEED : (Serves 2 generous portions)

Half a medium celeriac
1 large clove garlic
2 teaspoons very low fat spread
(Substitute for 2 teasp. olive oil if doing NoCount/F&H or SS)
1 tablespoon Total 0% yoghurt
Black pepper

***


Wash the celeriac then peel using a sharp knife or vegetable peeler. Dice into large chunks then pop into a pan with boiling water.


Add the peeled garlic clove to the water. This adds a little sweetness and counteracts the slightly sour taste of the celeriac once cooked.


Cook for approx. 15 minutes until you can insert a knife easily into the celeriac. Drain well then pop back into the pan.


Measure the very low fat spread and add to the hot celeriac.


Measure the Total yoghurt and add to the pan.


Season well with lashings of coarsely ground black pepper.


Use a hand blender, masher or food processor to blend to a lovely smooth consistency. Unlike potato, the celeriac responds well to being blended-it won't go 'gluey'.


Heap onto your plate with your chosen main dish-sausages and gravy, stew etc.


My favourite way to serve this mash is with Chickpea and Butterbean stew- a fabulous Winter warmer!
(Click HERE for recipe)

***

Mashyliscious.

***

PRINT RECIPE HERE

***

Have you seen my YouTube channel yet?
Click HERE to go straight to it and see some of my dishes being made in the
Slice of Slim kitchen!


Don't forget to subscribe then you will be automatically updated every time I make a new film. 
Thursday, 9 October 2014 - , 0 comments

CUPBOARD LOVE : WeightWatchers Hot Chocolate Flavours


These new hot choccies from WeightWatchers are just a little bit yummy!
They have managed to capture the flavours of


'Cappuccino Cream Cake'


 'Jaffa Cake'


and 'Chocolate Cherry Brownie'
really well in powder form.

Personally, I find the hot chocolate quite watery when made into a drink so I often add a tiny splosh of milk on the top to enhance the appearance and flavour.
You use 3 heaped teaspoons with a mug of boiled water for a lovely 1pp/38kcal chocolate fix. Each sachet contains 8 servings. They are £1.49 per bag and are often on a deal if you buy two at a time.

***


Remember these flavoured powders make a great addition to low fat natural yoghurt or frozen banana 'icecream' for a fabulous low propointed dessert. Just add the powder dry and mix well.
Click HERE for a link to the banana 'icecream' recipe.

***

Choccyliscious
Wednesday, 1 October 2014 - , 2 comments

Food for Thought : A Few Refreshing Changes


There's nothing as refreshing as a few days away. So when my good friend who lives in Cyprus asked me if I'd like to stay with her for a week, how could I possibly say no?
What I didn't realise was that I could learn so much in a few days..and these small changes will be put into practice now I'm home.

***

Although I'm very well-versed on the subject of the WeightWatchers plan and my focus is on low-fat and low-salt recipes, I realise that I could still eat more nutritionally-balanced meals from time to time and perhaps snack a little less.

My friend Penny is very well read on the subject of food, nutrition and digestion. She loves to eat healthily and adores food-but doesn't have that obsession with it like I do. So it was really interesting for me to spend a few days with someone who knows when they are full up, doesn't crave food the whole time and naturally knows how to eat!

This may sound crazy to you but because my life has revolved around weight loss, maintenance and tracking everything I've eaten for the past 4 years, I found the whole experience pretty interesting. So, I decided to keep a photographic food journal of everything we cooked and ate during that week. I continued to track and Penny ate as she always does. At the end of the week, we both felt fantastic, had eaten like kings and each lost 3lbs!
(We had both intended to lose a couple of excess pounds).

We also had a few treats not shown here-chocolate, crisps or icecream most days!


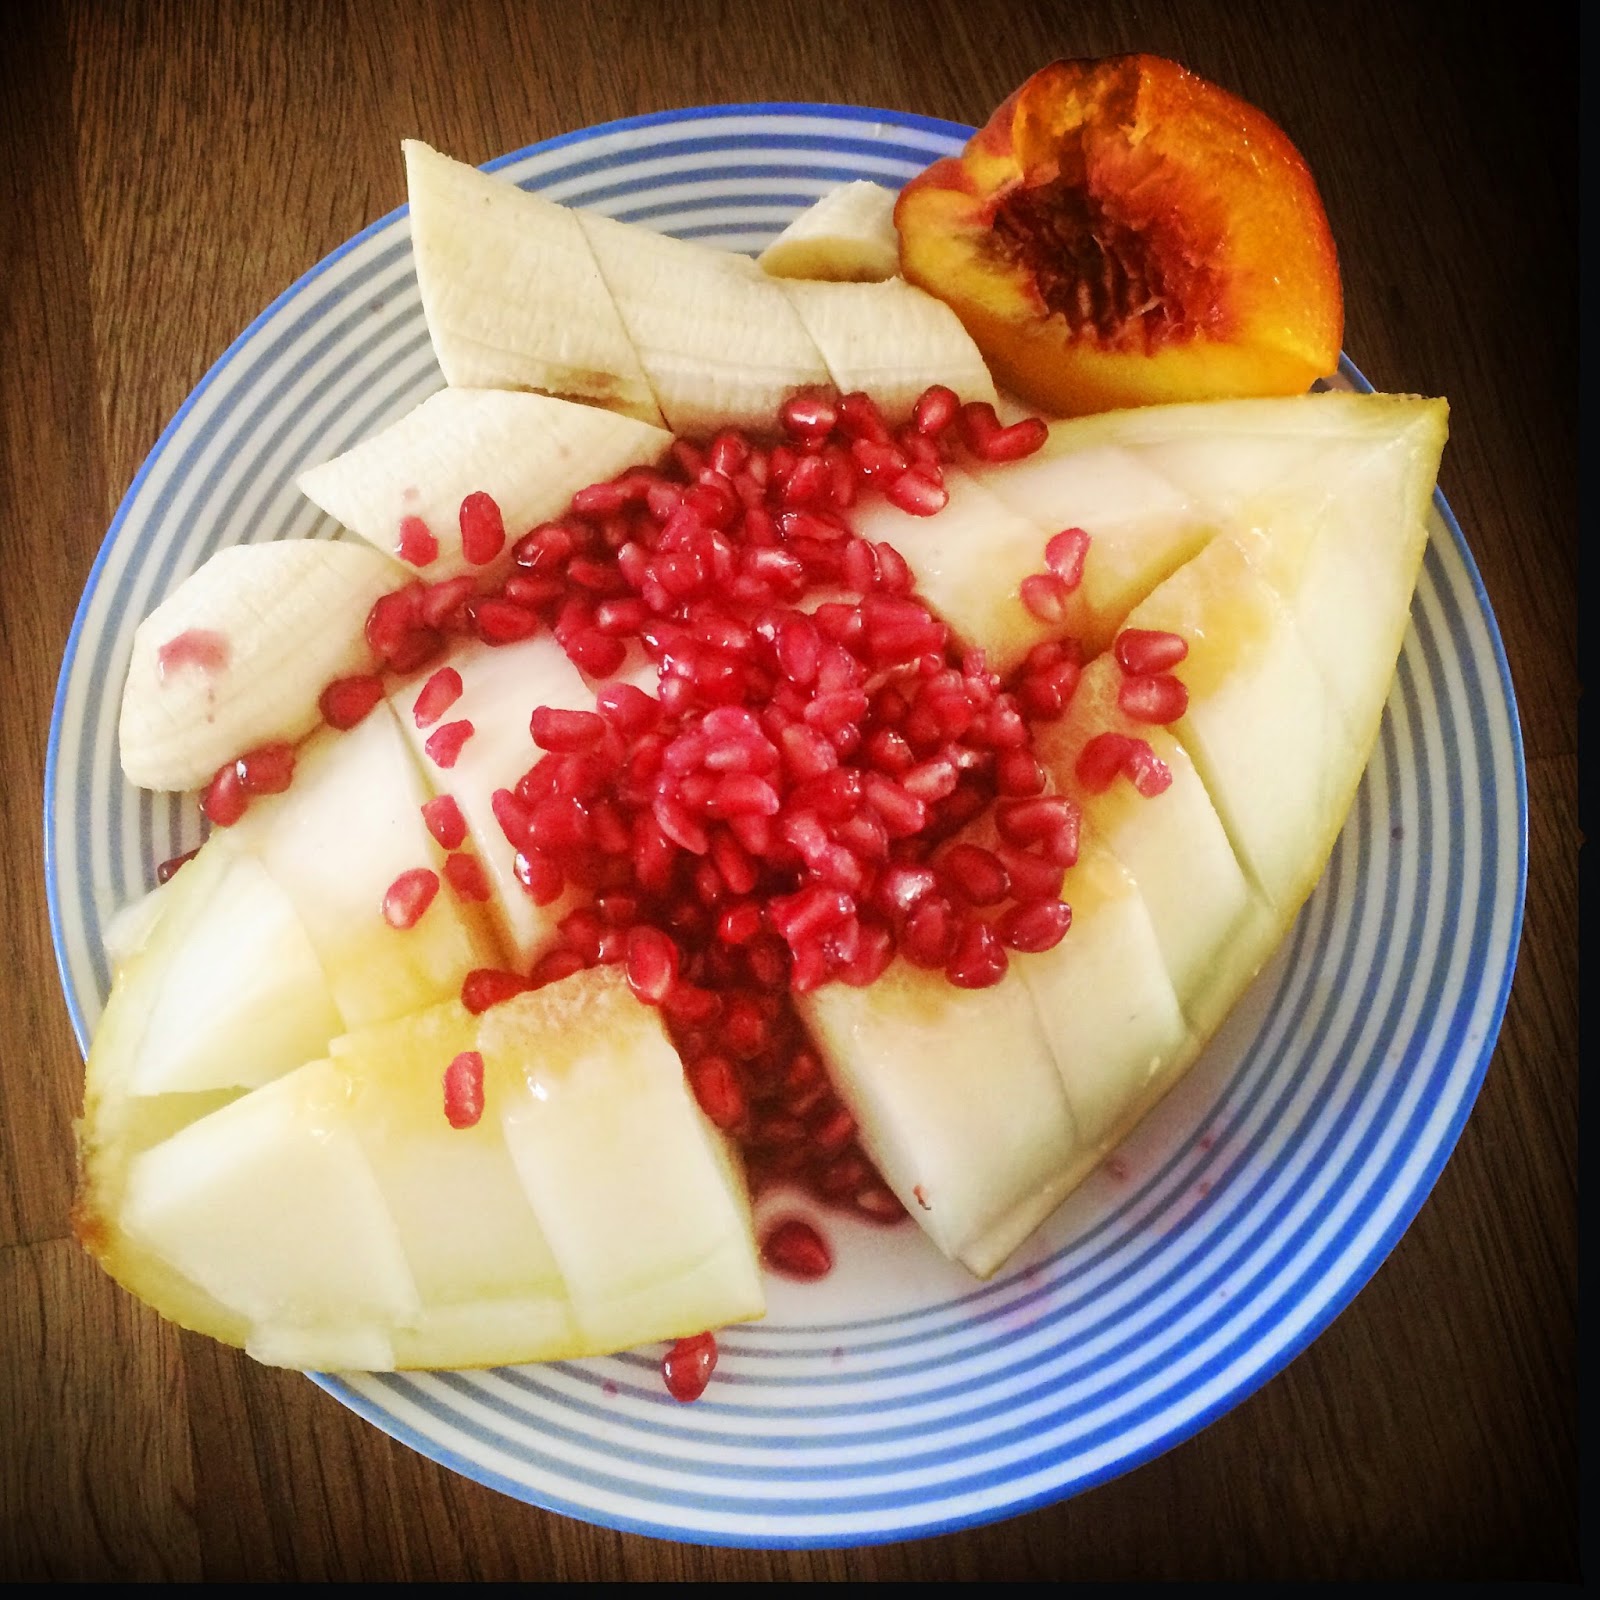
So here's what we ate. The breakfasts look repetitive because I've used the same image-but we had a variety of fresh fruit/vegetable juices every morning on an empty stomach. This was followed by a Mediterranean style breakfast of hard boiled egg, tomatoes and cucumber, which I really enjoyed-but we could have varied it if we had chosen to.


The fresh juicing is the first change I've implemented since I got home. In the past, I resented having to use a couple of propoints for a fruit/vegetable juice, but the sense of well-being I felt after 2-3 days was immense and I realised how much good it was doing my digestive system. 


I'm not someone who believes in gadgets for the sake of gadgets, but a juicer is well worth the investment.


I won't go through every dish but we ate hearty meals, large portions of fresh produce each day.


If we ate a large lunch, we'd have a delicious salad for dinner and vice-versa. We never felt hungry.


The fresh food costs were slightly cheaper in Cyprus than in the UK, but we were not extravagant and if we had sea bass or salmon one day, we'd have a chickpea stew the next to balance out the costs. We wasted nothing.


The next lesson I learnt was to up my intake of water. Penny noticed that I always went to make a cup of coffee or tea if I was thirsty and drank very little pure water.
This is another habit I've put into practice since I got home. I try to drink about 5-6 glasses a day. We all know we should be doing this but it's worth actually noting our habits.


The most life-changing one for me though, is this one!
Because fruit is 0pp on the propoints plan, I  previously ate huge amounts of it especially as a dessert after meals and as a way to fill myself up in the evenings...

Penny's knowledge of digestion meant that she could advise me that eating fruit AFTER a meal is not a good idea as it digests faster than other foods-therefore sits on top of the meal you've just eaten causing flatulence! Enough said!!!
All I can say is that by eating fruit on an empty stomach mid-morning or afternoon and maybe in not such vast quantities, my body feels so much more comfortable. Not only my life but the lives of everyone in my family have been improved as my digestive system is calmer and happier!

***

I'll be bringing you some of the delicious recipes we cooked over the next few weeks.

***

Little changes can make a big difference!

***

Have you seen my YouTube channel yet?
Click HERE to go straight to it and see some of my dishes being made in the
Slice of Slim kitchen!


Don't forget to subscribe then you will be automatically updated every time I make a new film. 

RECIPE : Mango, Lime & Mint Chutney


I love mango chutney but at 2pp/55kcal per tablespoon it kind of defeats the object of my magical 0pp curry!
(Click HERE for recipe)
So...I decided to invent a low fat, ZERO propoint version of my own chutney and the result is truly yummy. I've mixed lime juice and peel into mine to introduce some sour and bitter flavours as I love lime pickle, so this combines both ideas. However, if you prefer your mango chutney traditionally sweet, just leave out the lime altogether. 
Mangoes can be an expensive ingredient, so look out for over-ripe ones that may have been reduced in price.

***

The WHOLE amount is 0pp/approx.250kcal and is also suitable for a F&H/SS day

YOU WILL NEED : (Makes approx.300g)

1 large ripe mango
1 tablespoon Nigella/black onion seeds
1 lime
1-2 cups water
1 sprig fresh mint
1 clove garlic
1 red onion
1 tablespoon artificial granular sweetener
1 tablespoon low salt soy sauce
1/2 a banana

***


Dice the mango into small but chunky cubes. Pop into a heavy-based pan.
(I used a frying pan)


Sprinkle the Nigella seeds over the mango.


Squeeze the juice of one lime into the pan.


Cut the remaining peel very finely and add to the pan. It's the peel, not the juice, that gives the chutney a slight bitterness. You could try using orange or lemon instead.


Now add a cup of water and bring to the boil.


Chop the mint leaves finely.


Add the freshly chopped mint and a crushed clove of garlic to the pan.


Add finely chopped red onion, soy sauce and sweetener to taste.
(You may not need much sweetener if the mango is naturally very sweet).
Allow the chutney to bubble away on the hob for around 40-50 minutes. You may need to add another cup of water.


Finally, to round off the flavours and thicken the liquid, add half a chopped banana. Cook for a further 10 minutes, stirring until the banana has completely broken down into the sauce. You won't really taste the banana-it just saves adding sugar or cornflour. Taste once more and 'tweak' the flavours to your personal preference-a little more soy sauce, mint, sweetener etc.


If you are going to preserve this for a while or to give as gifts, place into freshly sterilised jars while the chutney is still hot. Allow to cool down in the jar before storing then using.
(You can see how to do this in more detail in my Apple Chutney recipe. Click HERE)


Alternatively, allow to cool then serve with curries, cold meats or cheese. The chutney will keep for a few days in the fridge.

Sweet, aromatic mango chutney.

***

PRINT RECIPE HERE

***


Have you seen my YouTube channel yet?
Click HERE to go straight to it and see some of my dishes being made in the
Slice of Slim kitchen!
Don't forget to subscribe then you will be automatically updated every time I make a new film. 


RECIPE : Spiced Plum & Beetroot Chutney


This is the time of year when there's an abundance of harvest fruit and vegetables in our gardens and the supermarkets. I don't grow my own produce but sometimes I'm lucky enough to be given some by friends or family who do. There are bargains to be had in the shops too and if you're making chutneys, it doesn't matter if you are buying slightly under or over-ripe fruits as you can compensate with the flavourings you use.
This spiced plum and beetroot chutney was inspired by some rather disappointing sour plums I bought recently. I knew that I could turn them into something delicious just by adding a few interesting ingredients and I think you'll agree that this looks and tastes pretty spectacular!

***

My chutney is 0pp/approx.450kcal for the WHOLE jar, also suitable for a Filling&Healthy or SimpleStart day, so a real winner!

***

YOU WILL NEED: (Makes approx.450g) 

400g plums
6 small, pre-cooked beetroot
(the ones I used were cooked in mild vinegar)
1 red onion
1-2 cups water
1 teaspoon Chinese 5 spice
1 teaspoon cinnamon
1-2 tablespoons artificial granular sweetener
a few basil leaves
1 tablespoon low salt soy sauce
1/2 a banana
black pepper

***


Chop the plums into rough quarters and remove the stones. Pop into a heavy-based pan.
(I used a large frying pan)


Chop the beetroot into small chunks and add to the plums. The beetroot adds an earthiness to the finished chutney and makes it the most incredible colour. 
(If you prefer, you could use raw beetroot but you will need to allow a much longer cooking time).


Add a cup of water and bring to the boil.


Add the Chinese 5 spice, cinnamon, sweetener, basil and soy sauce. You'll need to adjust the flavours according to your personal taste. If the plums are very sweet, you may need less sweetener than my recipe states. If you use raw beetroot, you may want to add a little vinegar.


Chop the onion finely and add to the mixture. Let everything bubble and boil for about 40-50 minutes. Stir occasionally and add more water if you need to. You will find that the plums break down totally but the beetroot and onion hold their shape and texture.


To further thicken and sweeten the chutney, add 1/2 a banana. Cook for about 10 minutes until it breaks down into the sauce. You won't be able to taste it but this means you won't need to add any sugar for sweetening or cornflour for thickening.
Taste again and adjust the flavours to your personal liking-more spice, more sweetener, black pepper etc.


If you are going to preserve this for a while or to give as gifts, place into freshly sterilised jars while the chutney is still hot. Allow to cool down in the jar before storing then using.
(You can see how to do this in more detail in my Apple Chutney recipe. Click HERE)


Alternatively, allow to cool and serve with cold meats or cheese. The chutney will keep for a few days in the fridge.

Sweet, tangy, earthy, fruity chutney.

***

PRINT RECIPE HERE

***


Have you seen my YouTube channel yet?
Click HERE to go straight to it and see some of my dishes being made in the
Slice of Slim kitchen!
Don't forget to subscribe then you will be automatically updated every time I make a new film.