Showing posts with label Janey's SOS. Show all posts
Tuesday, 12 May 2015 - , , , , , 0 comments

SMASH & GRAB : 'Cream Tea'


There must have been something about the sunshine and the feel of Summer in the air this week because all of a sudden I had a craving for scones and jam and a cuppa tea in the garden!
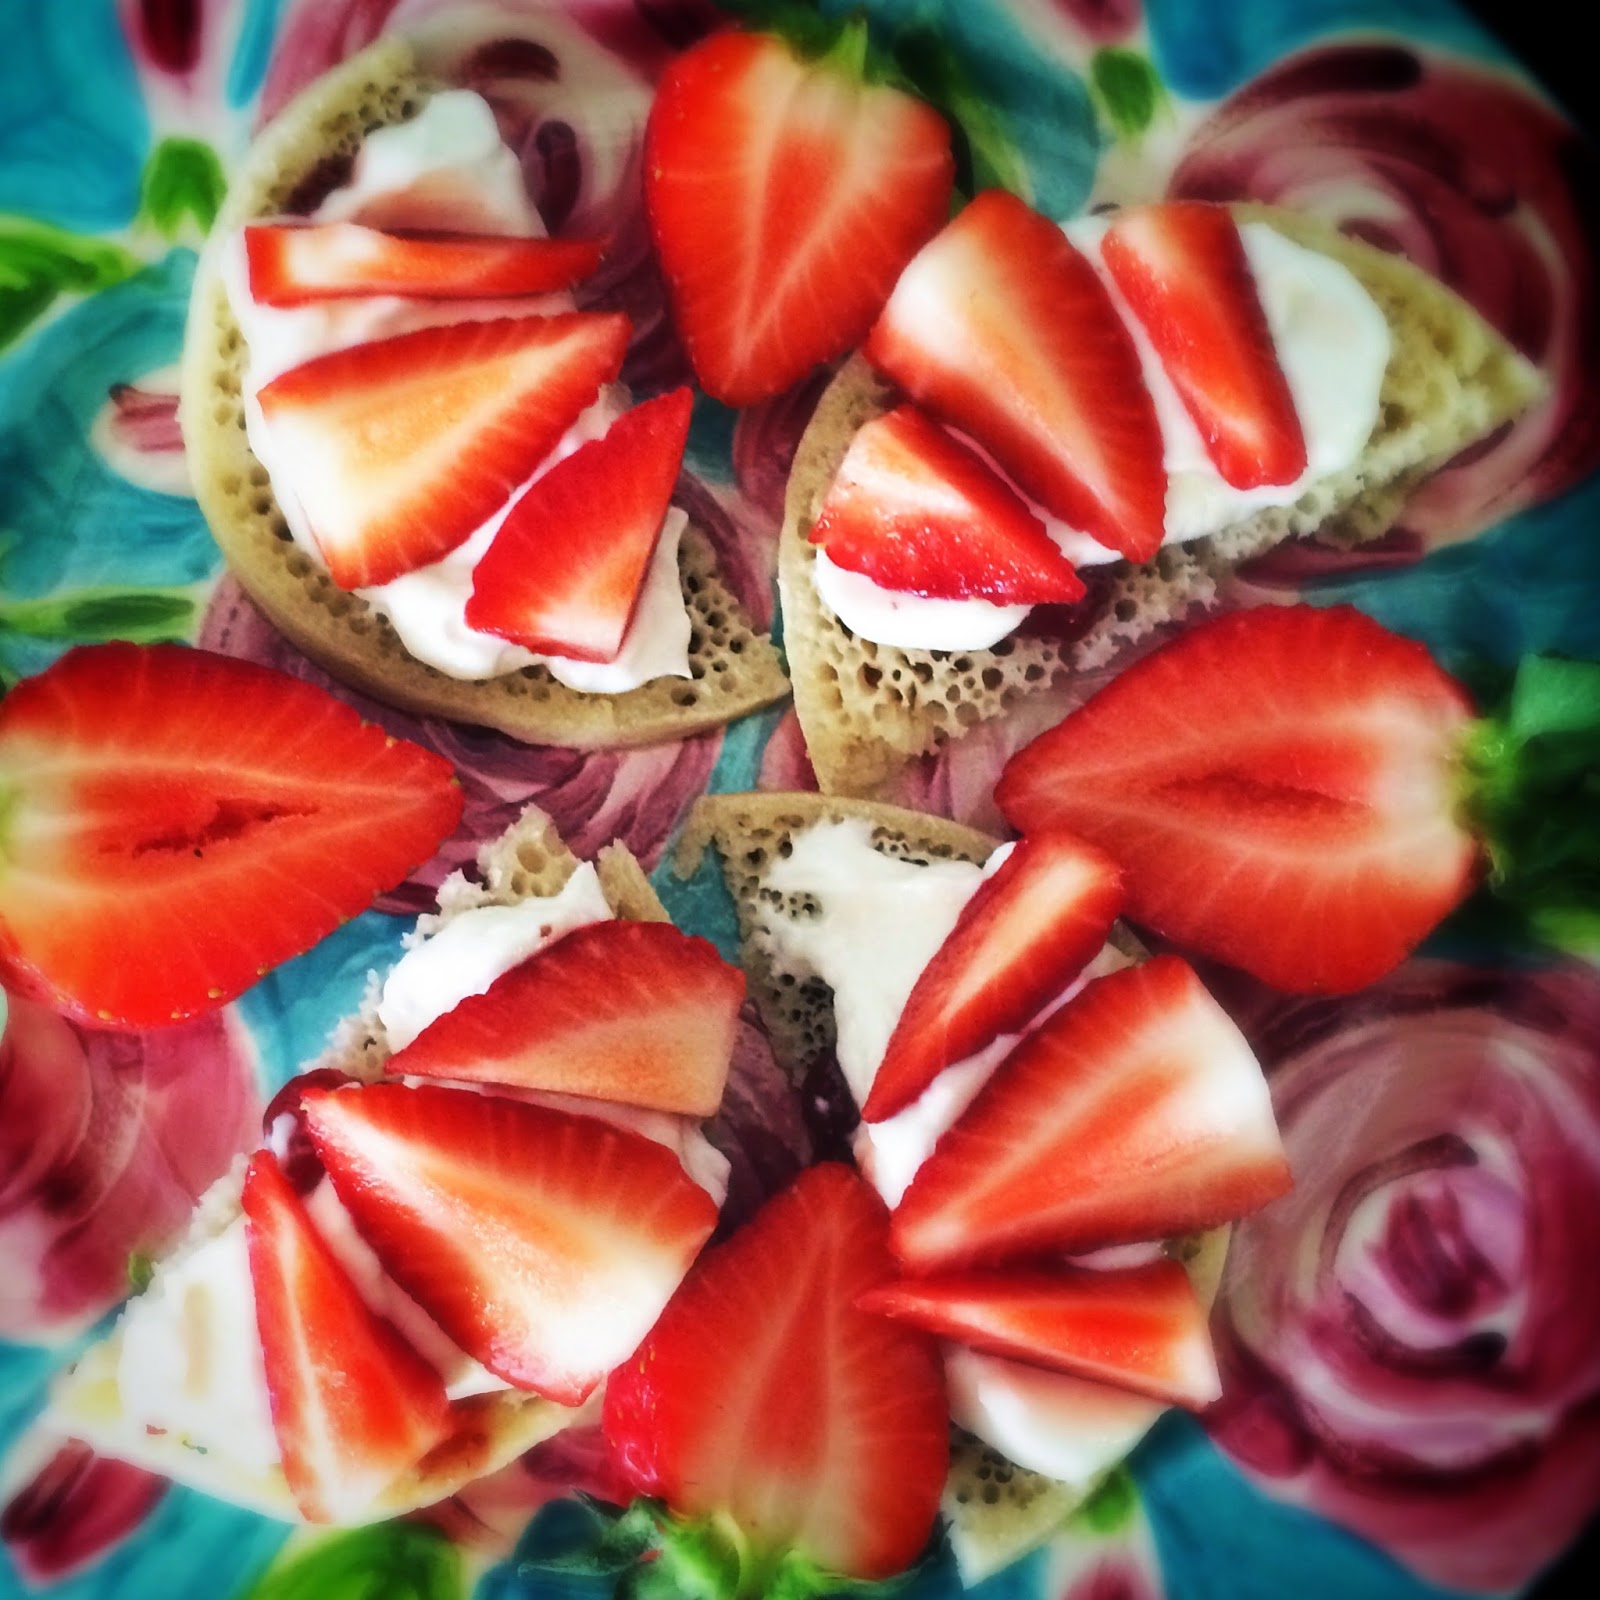
I decided to recreate the textures and flavours of a traditional cream tea but in true Slice Of Slim style-and for 4pp/approx.180kcal per portion it hit the spot for me!
(This is around half the propoints/calories of an average fresh cream scone)

This is a no-faff 2 minute preparation time too! Simple and tasty.

***

YOU WILL NEED:(Per portion)


1 crumpet
1 teaspoon strawberry jam
4 teaspoons Total Greek yoghurt
(0% or 2% fat)
 5 fresh strawberries

***


Split then lightly toast the crumpet. 


Cut into four pieces and arrange on a serving plate.


Using a 1/4 teaspoon measuring spoon, dollop 1/4 teaspoon of strawberry jam on each piece of crumpet. (I promise it's all you need!)


Spread the jam roughly then dollop the yoghurt on top. Use a 1 teaspoon measure for each piece of crumpet.


Leave the yoghurt in generous piles so that it looks like cream. Total yoghurt is best for this as it is so thick and creamy so will hold its shape and isn't sour like so many natural yoghurts.


Cut the strawberries into wedges and arrange 3 slices on each piece of crumpet, nestled into the creamy yoghurt. Use the remaining strawberries to decorate the plate.


Make yourself a cup of tea then take 5 minutes to savour your amazing 'cream tea'. This really tricks the brain- the textures and flavours are just right and you will feel like you've had a decadent treat!


If you want to fill the plate and make this more substantial, cut a banana into wedges and add to the plate.

***

A taste of Summer
Friday, 12 December 2014 - , , , , 0 comments

RECIPE : Tiramislim


Tiramisu is a classic favourite, however
traditionally it's very rich, creamy and crammed with high fat ingredients.
I've come up with a slimmed-down version for you which I've called Tiramislim!
It's extremely simple to make and sticks very closely to its original roots; coffee-soaked sponge fingers, layers of creamy vanilla and grated chocolate.


*** 

I decided to serve mine in decorative coffee cups as, not only does the dessert lend itself to this presentation, it's also a great way to monitor the serving size.
As this is so rich, you actually don't need a huge amount but this recipe gives you all the right hits in all the right places! 
If you don't have any coffee cups, then large ramekins work equally well.

***

My research shows me that an average portion of tiramisu in a restaurant is anything from 12pp-17pp/approximately 500-700kcal.

My tasty Tiramislim works out to 4pp/approx.160kcal per portion

***

YOU WILL NEED : (Serves 4)

8 sponge finger biscuits

a mug of medium/strong black coffee

140g lightest Philadelphia cream cheese

270g Total Greek yoghurt
(I used the 2% fat version
but you can use 0%)

1 teaspoon vanilla extract

3 teaspoons artificial granular sweetener

40g dark chocolate

***


Make a mug of black coffee
(fresh or instant coffee both work well)
and pop into a shallow bowl to cool off.


Mix the cream cheese with the sweetener and blend well.


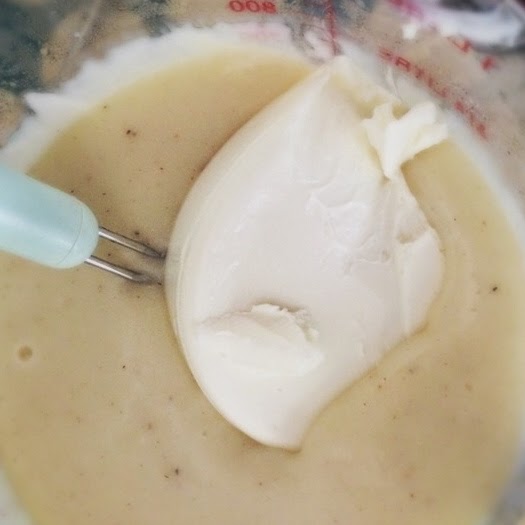
Add the vanilla extract then gradually beat in the yoghurt, mixing thoroughly to form a lovely smooth mixture.


Set yourself up with a little work station so that all the components are at an arm's reach.


It's a good idea to cut the chocolate into 4 equal servings so that each portion has the correct amount.


Organise your serving dishes and have them to hand.


Cut each sponge finger in half.


Dunk two halves of sponge finger per portion into the coffee. Allow to soak through but don't allow them to be too soggy.


Pop two halves of soaked biscuits into the base of each coffee cup or ramekin dish.


Using a measuring spoon to allocate even portion sizes, add enough yoghurt/cream cheese mixture to each serving to cover the biscuits. Leave plenty of mixture for a second layer.


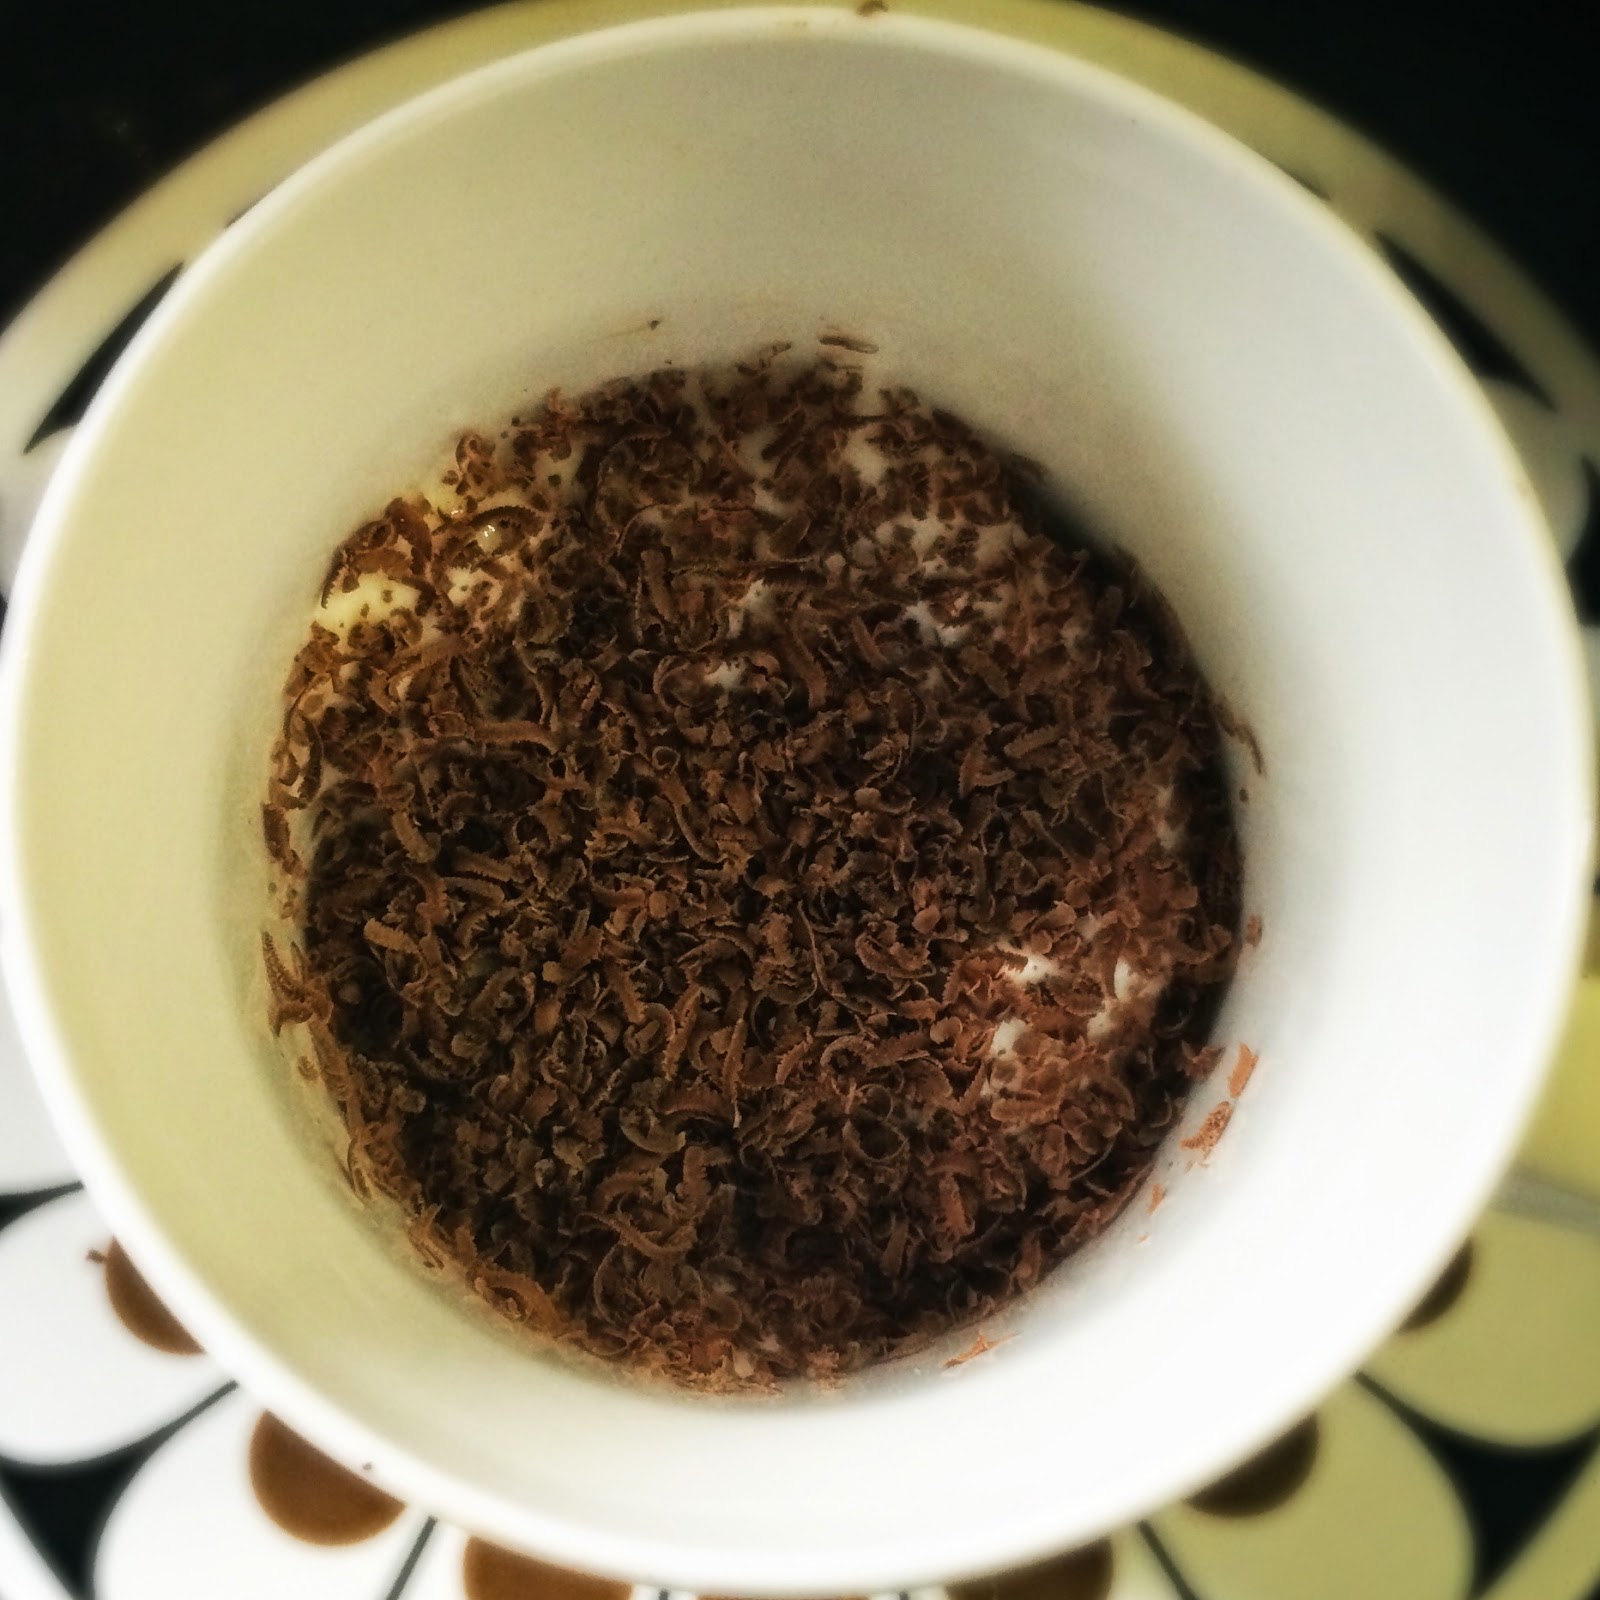
Grate or chop the chocolate finely then add half to this layer, saving half for the top.


Repeat the process all over again; coffee soaked sponge fingers...


...followed by creamy vanilla...


...finishing with grated or chopped chocolate.


I used a combination of coffee cups and ramekins-I quite like the mismatched look!
Once completed, cover and pop into the fridge.
This is a great little dessert that can be made up to two days in advance until you are ready to devour it.

***

Dessertiliscious!

***

To ring the changes...

Try adding a layer of drained, tinned black cherries (in juice) to give a hint of black forest gateau.

*

Try adding some clementine or tangerine zest between the layers to give a fragrant punch.

*

Try adding some cointreau
(2pp/80kcal per 25ml measure)
or your favourite tipple to the sponge finger layer...
Baileys (2pp/81kcal per 25ml measure)
would be good!
Remember to adjust the propoints/calories accordingly.

You could use 1-2 shots between all 4 portions.

***


***


Tuesday, 17 June 2014 - , , , , 0 comments

RECIPE : Macaroni Cheese


I've had a few requests for a macaroni cheese recipe recently...my favourite one even asked for the right squelching "tch-tch" sound you get when you put the serving spoon into it!
I thought long and hard about this recipe before making the most low fat but traditional version I could. I didn't want to pad it out with vegetables, or add yoghurt to the bechamel sauce...I wanted to bring you the most luscious, creamy version I could muster up with a lovely crispy breadcrumbed topping.
For this reason, it's not the lowest of low in terms of propoints/calories per portion, but it gives you all the right textures and sensations and is spectacular served with a simple green salad, especially in the Summer months. During the Winter, you could have a large portion of roasted veggies on the side to pad it out a little.

***

My macaroni cheese serves 6 people at 8pp/approx.350kcal per portion
or
4 generous portions at 12pp/approx.500kcal per portion.

***

YOU WILL NEED : (Serves 6 average or 4 large portions)

250g dried macaroni
500ml unsweetened soya/skimmed milk
(skimmed mik is 2pp more but this doesn't affect the overall propoints)
4 tablespoons cornflour
1/4 teaspoon nutmeg
1/2 teaspoon garlic granules
1/4 teaspoon ground white pepper
100g lightest Philadelphia
30g mature cheddar

For the topping:

2 crumpets
(the thin ones at 2pp each)
15g mature cheddar

***


Cook the macaroni according to the packaging. Rinse in cold water to prevent it sticking together.


Measure the milk, then add the cornflour and seasoning. Stir well to blend in the cornflour. Heat on high in a microwave in one minute bursts, whisking or stirring well in between until it boils and thickens. Alternatively, heat on the hob and whisk gently until thickened.


Beat in the lightest philadelphia to further thicken and enrich the bechamel sauce.


Grate 30g of mature cheddar into the sauce and mix well. Taste and season if needed. It should be quite bland but with a lovely mild cheesy flavour. I find using a little strong regular cheese works out better than more reduced fat cheese which tends to have less flavour.


Add the sauce to the cooked macaroni and stir well until you have a lovely creamy mixture.


Pour the mixture into an oven-proof dish. I find a loaf tin works really well for this as the depth of it gives you lots of creamy macaroni cheese with a little crispy topping once served.


Make the breadcrumb topping by blitzing the crumpets with 15g grated mature cheddar. You could use 2-3 slices of reduced calorie bread if you prefer.


Spread the cheesy breadcrumbs in an even layer over the macaroni mixture. Mist lightly with Frylight oil.


Bake for around 20 minutes at 200C/400F/Gas6 until the sauce is bubbling hot and the top is golden and crispy. Cover with foil if the top browns too quickly.


Allow to cool slightly before serving. This way, you will find it easier to divide into equal portions and serve neatly from the tin. You'll need a cake slice and a large spoon...enjoy the "squelch"!


Serve with a drizzle of tomato ketchup.
(You can have up to 1 tablespoon for 0pp)
This is real comfort food at its best.

***

Mouthwateringly macaroniliscious.

***

Thursday, 24 April 2014 - , , , , , , 11 comments

RECIPE : Lasagne


I recently asked my followers which foods they missed the most from their pre-weightloss days. I had about 100 replies in 30 minutes!

***
I adore troubleshooting recipes for people-infact I feel a bit like a magician as I love making the seemingly impossible possible.
I've done so many of these now that I actually have a new category on the blog called
Janey's SOS!
One of the top requests was for lasagne.
Many people think they have to avoid foods like this when trying to lose or maintain weight....but with a few simple ingredient changes and some lateral thinking, most things are possible!

***

Jill Groves, a friend of mine and
Slice-of-Slim follower said that all the low fat lasagnes she has tried tended to be dry...so I made it my mission to come up with the creamiest, most luscious version I could!
My recipe is for vegetarians and meat eaters alike-it's a simple conversion with only one extra propoint per serving for the meat variety.

***

Lasagne is all about the preparation. You need  an hour or so to make both the Bolognaise and bechamel sauces but then it's a simple assembly job. You could make the sauces a day or two in advance and keep them chilled or frozen before you make the finished dish.

***

Some restaurant or shop-bought lasagnes can be as much as 18-20pp/750-800kcal per portion...

My Lasagne makes 8 generous portions at 7pp/approx.340kcal per portion for the vegetarian version or 8pp/approx.380kcal per portion for the meat version.

***

YOU WILL NEED: (Serves 8)

A large oblong oven-proof dish

9 dried lasagne sheets
(no need to pre-cook)

Bolognaise sauce
(see below)

Bechamel sauce
(see below)


20g grated parmesan
(I buy these tiny bags
so I'm not tempted to use more)

2 Babybel light/or 2pp/80kcal of any reduced fat cheese of your choice.
(Usually around 30-40g depending on brand)

***


Bolognaise sauce

(Vegetarian or lean ground beef version)
My recipe is the simplest you'll ever follow!

Click HERE for my detailed recipe
or follow the quick instructions below;

350g pack of Quorn mince (vegetarian)
OR
450g pack extra lean minced beef
1 jar (700g) thick passata
100g tomato puree
1 tin whole cherry tomatoes
1 mug water
2 cloves crushed garlic
2 teaspoons granular sweetener
2 teaspoons dried mixed Italian herbs
1 bay leaf
A few sprigs fresh basil
Black pepper
1 teaspoon cornflour

Pre-heat the oven to 190 degrees centigrade

***

Put ALL of the above sauce ingredients into the pan excluding the cornflour.

Mix everything together thoroughly-break up the minced beef with a fork until everything is combined. So, at this stage, no heat has been applied, all the ingredients are cold.
Place the pan, uncovered, into a preheated oven (190 degrees centigrade).

Leave for

20-30 minutes for the Quorn version
or
40-50 minutes for the meat version.

***

With a wooden spoon, stir thoroughly, mixing in the thickened, caramelized parts from the edges.
Cover the pan loosely with foil and cook for a further

10 minutes for the Quorn version
or 
30 minutes for the meat version.

Add the cornflour, mixed with a little cold water. (This just takes away any watery residue).
You can serve it at this stage, but if you have the time, turn the oven off and allow to cool in the oven.

*** 

Bechamel sauce


My Slice-of-Slim bechamel is very very simple to make!
I realised that this doesn't have to be stuffed full of cheese inside the lasagne, leaving a few propoints for some lovely tasty cheese just on top.
I achieve a thick,rich and glossy sauce by using lightest Philadelphia cream cheese. I also allow for lashings of sauce which is what prevents a dry lasagne.

***

1 litre unsweetened soya/skimmed milk
8 tablespoons cornflour
200g lightest philadelphia
white pepper/black pepper to taste
garlic granules to taste

***


Measure out the milk. While cold, add the cornflour. Stir well.


Cook on high in the microwave in 2-3 minute bursts, stirring in between until the mixture has come to the boil and thickened enough to coat the back of the spoon.
If you prefer, you can cook in a pan on the hob, stirring occasionally until thick.


Add the philadelphia and beat until it is thoroughly mixed in with no lumps. This is your beautiful, thick, glossy sauce. Season quite generously with pepper and garlic granules to give it a subtle flavour. Don't worry if it is a little bland.
Use straight away or cool and refrigerate until you need it.

***

Now for the assembly!


There are so many ways to layer up a lasagne but this is the best way to keep it moist and saves on using too much pasta!
So...reading this photo from left to right...

Pop a little Bolognaise sauce just to cover the base of the dish.

*

Next add 3 sheets of lasagne.

*

Add 1/2 the remaining Bolognaise and around 1/3 of the bechamel sauce.

*

Next add 3 more sheets of lasagne.

*

Add the remaining Bolognaise sauce.

*

Next add the last 3 sheets of lasagne.

*

Add the remaining bechamel to form a generous, thick layer to cover everything well.

*

Scatter the grated parmesan and grate the Babybel in an even layer over the top.

***


Bake for 40 minutes at 200C/400F/Gas6
until brown, bubbly and crispy on top.

***


Cut into 8 equal servings.


Each serving should have an even distribution of sauces and 3 layers of pasta.

The tasty, crispy parmesan and creamy Babybel on the top is enough to trick your brain into thinking it's packed with cheese!
The tomatoey Bolognaise sauce is rich and pungent, contrasting with the luxurious, silky bechamel.


Serve simply with a fresh, green salad.

***

Luscious Lasagne.

***

TIP


Any remaining portions can be surrounded in foil in individual portions and kept in the fridge or freezer.
Make a loose lid out of foil. When you reheat, keep covered for 15-20 minutes then uncover for 5-10 minutes to crisp up.


Label with the propoints so you can grab from the fridge or freezer after a busy day!

***