Showing posts with label Main Courses. Show all posts
Wednesday, 13 September 2017 - , , , , , , , , , , , 4 comments

RECIPE : Polpettine (Little Tuscan Meatballs)


Well...I learnt something really interesting today while researching these little Tuscan meatballs. I learnt that in Italy they are NEVER served with pasta!
Having said that, my version of this dish is one of those beautifully versatile recipes. These tasty meatballs are baked in the oven in a delicious tomato and mushroom sauce. You can serve them as little appetisers,(as shown above), or with lashings of sauce on pasta, rice or with vegetables. (I won't tell anyone if you serve them with pasta!)

***

I've been making meatballs for many years and I've tried various methods. This one wins hands down for me because I pack so much flavour into the beef mixture, that the meatballs infuse with the sauce and the sauce infuses with the meatballs to make a truly delicious match made in heaven! I don't pre-fry my meatballs as they go hard like pellets. My trick is to put all the ingredients into a food processor to blend the mixture really fine, then literally form and drop them into the hot sauce to poach and bake in the oven. This way they have a roasted top but stay really moist.

***

This recipe works out to
19sp/20pp/approx.1231kcal for the WHOLE AMOUNT.
I've worked out some multiples for you....

1 polpettine=1sp/1pp/approx.37kcal
2=1sp/1pp/approx.74kcal
3=2sp/2pp/approx.111kcal
4=2sp/2pp/approx.148kcal
5=3sp/3pp/approx.185kcal
6=4sp/4pp/approx.222kcal

***


YOU WILL NEED:
(For approx. 32-33 Polpettine)

For the Sauce:

1 tin Cherry tomatoes
1 700g jar passata
2 bay leaves
4 sprigs thyme
1 tablespoon tomato puree
1/2 tablespoon artificial granular sweetener
Small punnet of mushrooms

Optional:
1/2 tablespoon Piri-Piri seasoning 
or a pinch of chilli flakes

For the Polpettine:

2 cloves garlic
1 small onion
Mixed fresh herbs; sage, parsley, thyme
6 spring onions
60g chorizo
450g Extra lean minced beef

***

Preheat the oven to 180 degrees centigrade.


Put a large, flat pan on the hob. Add the tomatoes, passata, sweetener, puree, thyme and bay leaves.


Add the sliced mushrooms and chilli flakes or Piri Piri seasoning if you want your sauce to have a little kick.
Slowly bring the sauce to the boil while you make the meatballs.


Put the onion, garlic and fresh herbs into a food processor. Blitz until finely chopped.


Add the spring onions. Blitz.
Add the chorizo. Blitz again until really finely chopped.


Add the extra lean ground beef. It's really important to have chopped the herbs and garlic mixture and the chorizo before adding the beef, or you will not be able to blend everything evenly.


Blend until you have a really fine mixture. It should look like sausage meat. This ensures no large lumps of meat in the polpettine and all your seasonings and flavours will be evenly distributed throughout the mixture.


Using a measuring spoon, scoop a flat tablespoon of mixture for each polpettine, before rolling by hand into a ball. This will ensure that each one is exactly the same size so you can propoint accurately.


 Roll into even little meatballs. I find this amount should make 32-33 perfect polpettine.


Drop each one gently into the hot sauce. You need to handle with care at this stage as they are soft until cooked. They squash easily.


Give each meatball its own space in the sauce.


Gently spoon a little sauce to cover each polpettine.


Bake, uncovered, in the oven for 50-60 minutes. Don't touch it, don't stir it. I went for a walk with the dog while these were cooking!
Check they don't burn, but they should look like this-just 'catching' on the top. 
You can eat them at this stage, but if you have time, cover the pan with foil, turn the oven off and let them 'sit' in the sauce for as long as possible. This kind of dish is always better "the next day".


If you decide to serve them as hot little appetisers like this, then you will have a wonderful zero-propointed mushroom and tomato sauce to have another time with pasta or vegetables. If you serve them in their sauce, remember to add any propoints for pasta or rice.

***

TIP

If you find your sauce thickens up too much, especially after a day, loosen it off with some boiling water when reheating.

***

Perfect little polpettine.

***

PRINT RECIPE HERE
Sunday, 3 September 2017 - , , , , , , , 6 comments

RECIPE: Crispy Butternut Squash 'Noodles'


These crispy 'noodles' are my latest
exciting invention!
Deliciously crispy, chewy and mouth-wateringly yummy, they are really easy to make- you just need two things....a decent spiralizer and some patience! 
The butternut squash is spiralized into long 'noodles', coated in a little oil, garlic puree and soy sauce before being roasted slowly for about 40 minutes. They need supervising and turning every ten minutes but the outcome is well worth the effort.

 They work out to 1sp/approx.150kcal per portion

Once you've mastered this basic recipe which is delicious in itself, these 'noodles' can form the basis for lots of other dishes-served with satay sauce, Thai curry or a simply a stir-fried vegetable dish.

***

YOU WILL NEED: (Serves 2)

1 medium butternut squash
(choose one with a long 'neck')

1 teaspoon vegetable oil
1 teaspoon low salt soy sauce
1 teaspoon garlic puree
black pepper

***

Preheat the oven to 200C/400F/Gas6


Wash and dry the butternut squash thoroughly-this way you don't have to peel it!
(If you prefer you can peel of course)


Cut the bulb containing the seeds off. Set aside...this can be used for another meal and there will be no waste whatsoever!
(See end of this recipe)


Cut the top end off the 'neck' of the butternut squash.


Then cut in half...


Then quarters.


Centre each quarter onto the spiralizer and fix firmly into position.


Spiralize the butternut squash into long 'noodles' onto a flat plate.
(TIP; if you start to turn little moon shapes/small slices, simply recentre the vegetable on the spiralizer until you produce beautiful long 'noodles' again).


Put the finished spirals into a large mixing bowl. Add the oil, soy sauce, garlic puree and black pepper to taste. I prefer to spray the oil as it's easier to distribute evenly. Mix well so that everything is coated with flavour.


Spread the seasoned 'noodles' into a flat layer on a large baking tray and pop into the preheated oven. It looks like there is a huge amount but they shrink down substantially once cooked.
Set the timer for ten minutes.


After ten minutes, check how they are cooking. You are aiming for these crispy pieces at the edge of the baking tray. Simply mix these into the centre and redistribute so that the least golden 'noodles' are now at the edges. Set the timer for another ten minutes.


Check again after ten minutes, stirring and redistributing the soggier 'noodles' to the edges again, being really cautious not to let them burn.
 You'll need to repeat this twice more so that the 'noodles' cook for 30-40 minutes. This will depend on your oven and the thickness of your spiralized vegetables, so monitor carefully-it really is worth the effort!


The aim is to have some really crispy and some more chewy in texture...once you're happy with your 'noodles', pile them into a bowl or in a mound on a plate and tuck in!

***

Noodlemania!

***

TIP


For a yummy meal for one on another day, simply microwave the bulbous part containing the seeds for ten minutes. Scoop out the seeds then pop everything into the oven for about 20 minutes until the seeds are toasted.


Fill with your favourite filling like you would a jacket potato
eg; cottage cheese, tuna, Greek yoghurt, maybe a drizzle of tahini and sprinkle with the toasted seeds to finish.
The basic butternut squash and seeds are zero Smartpoints so you only need to calculate for your filling!

***

Monday, 29 May 2017 - , , , , , , , , 4 comments

RECIPE : Aubergine Kiev


When I was creating my chicken kiev recipe the other day, I realised that vegetarians are missing out on a fabulous dish ! I know you can buy vegetarian versions which try to impersonate chicken, but I wanted to come up with something a little more original. 
I had a think about how I could do it and realised that a small aubergine cut in half is a similar size to a chicken breast. Aubergine has a quality like no other vegetable too-it has a soft,'meaty' texture when cooked and left unpeeled, holds its shape really well.
This vegetarian version is made in exactly the same way as you would make a chicken kiev, it just takes a little longer to cook.
Another huge benefit for a WeightWatcher is that it's a 0sp/pp filling vegetable so this becomes an amazingly economical dish for us!

***

My Aubergine kiev works out to ;
3sp/2pp/approx.100kcal for one kiev
6sp/5pp/approx.200kcal for two kievs

***

You Will Need : (For 2 Kievs)

1 small-medium Aubergine
2 slices WeightWatchers White Danish Bread
1 egg white
(or 2 tablespoons 2 chicks egg white)
Two 10g portions low fat spread 
(I used Tesco Olive Light. This is 1pp/35kcal for 10g. Please check pp/kcal if you use a different brand)
1-2 cloves garlic
Dried Herbs
Black Pepper
Frylight Oil


***


Preheat the oven to 200 degrees centigrade.


Start by weighing 10g low fat spread per portion accurately into a small ramekin dish. If you are making more than one Aubergine Kiev, use a separate pot for each portion.


Crush the garlic into the pot. If you like this dish really garlicky, use one clove of garlic per person. For a milder flavour, half a clove is enough.


Add herbs and black pepper. Mix together thoroughly.


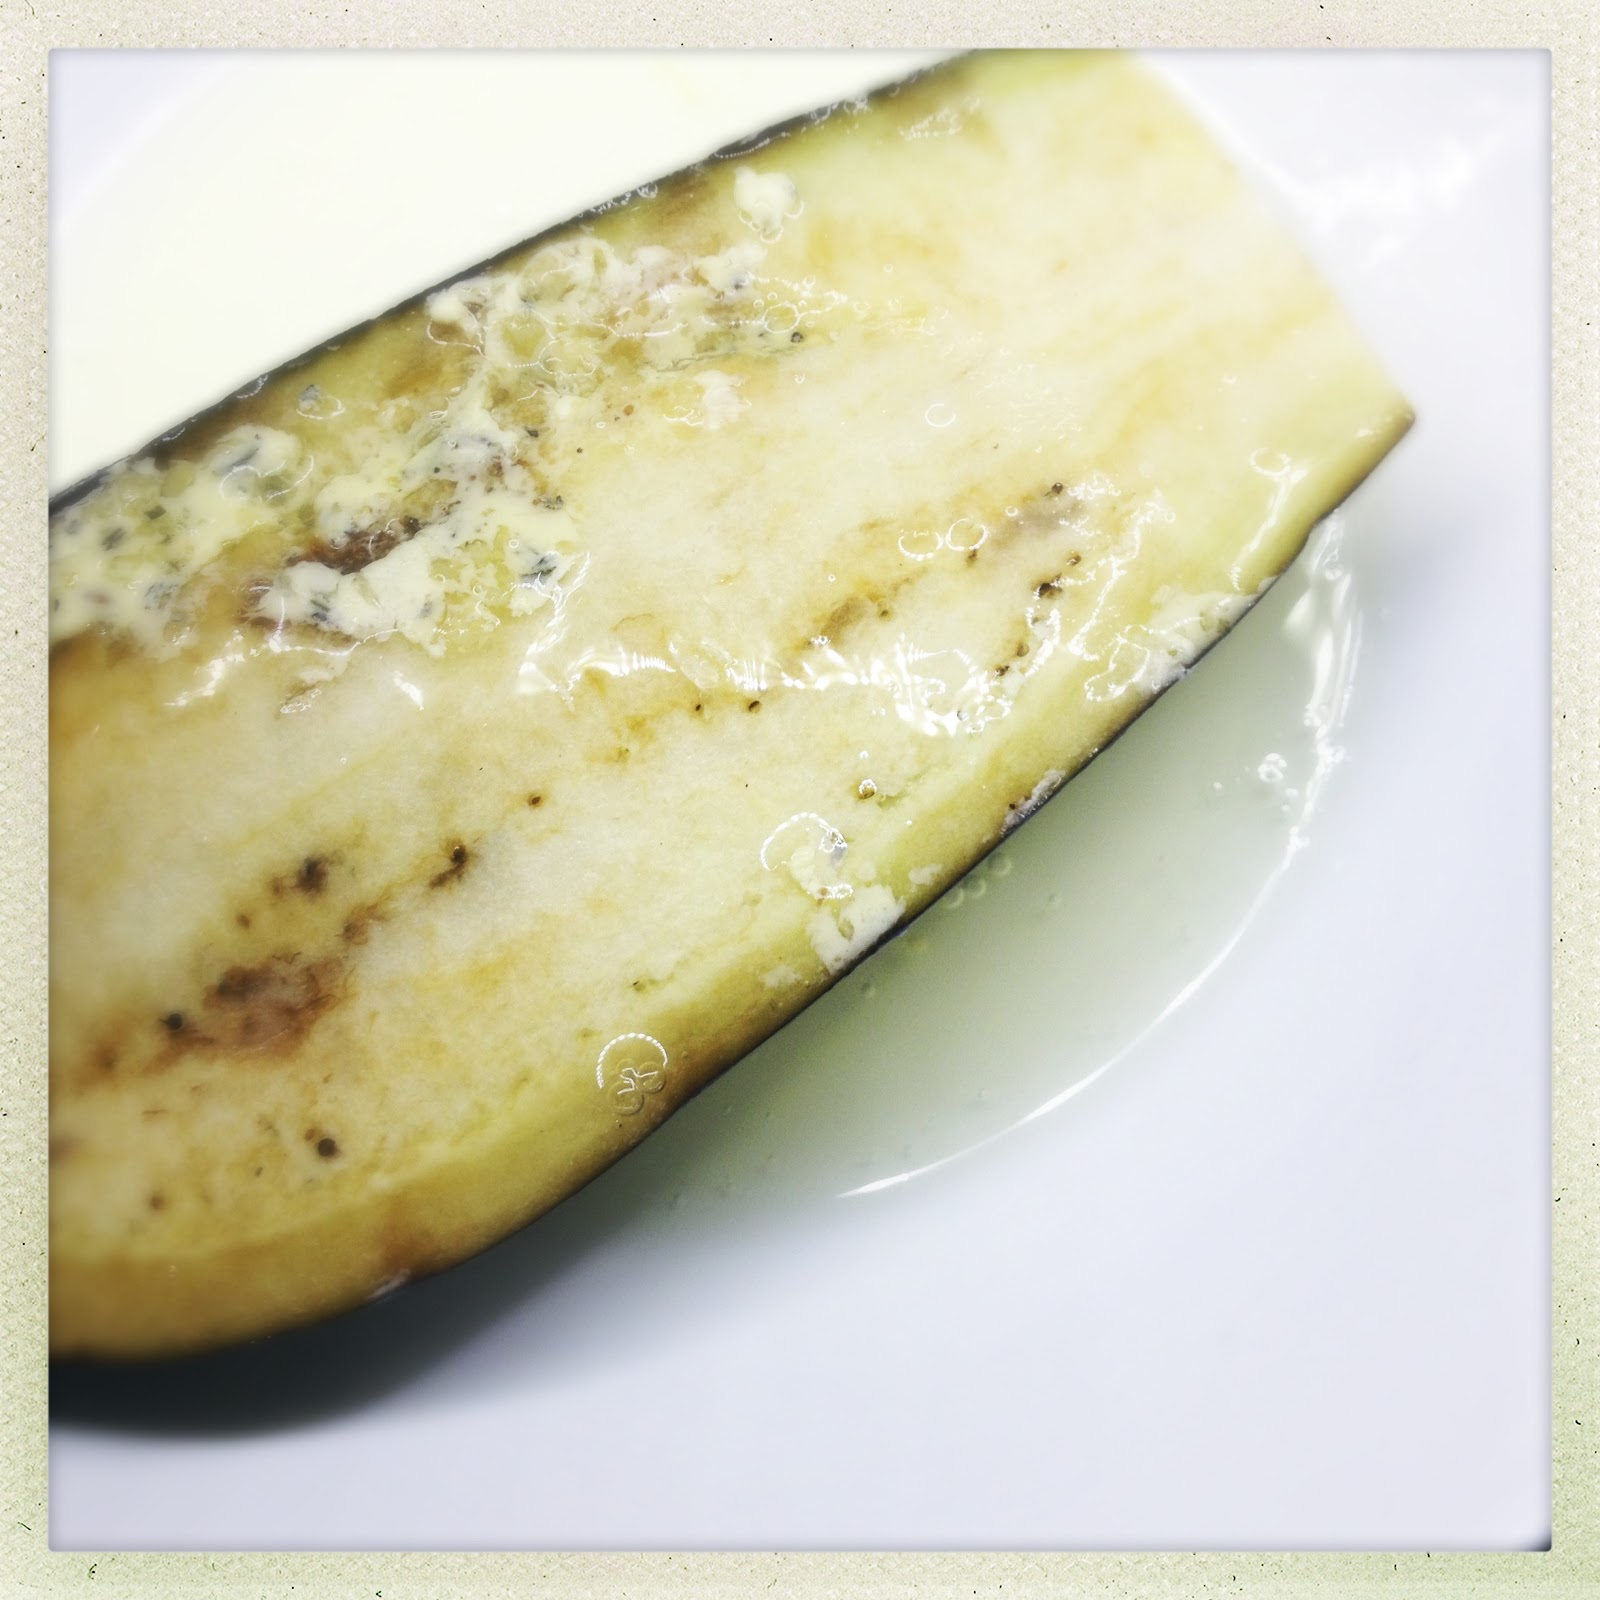
Take the aubergine. Remove the leaves and stalk. Cut in half horizontally so that you have 2 even pieces.


Make a slit half way up the aubergine. This needs to be wide enough to pack the garlic mixture inside and deep enough to reach the centre. It's not very flexible, so you will need to pull it open slightly.


 Fill the hole with the mixture using a teaspoon, then push it as far into the middle of the aubergine as you can with your finger. 


Pop the bread into a food processor and blitz until you have fine breadcrumbs.


Prepare 2 bowls-one for the egg white and one for the breadcrumbs.


Close up the hole in the side of the aubergine. Dip into the egg white, coating evenly.


Transfer to the breadcrumbs, coating generously.


The breadcrumbs will sit better on the flat surface of the aubergine, so coat the bottom, but use a generous amount on the top.


Transfer to a baking sheet, mist with Frylight oil and bake flat-side-up for 40-45 minutes until the aubergine is really soft and the topping is beautifully golden.


The garlic butter mixture will disperse evenly throughout the absorbant flesh of the aubergine, infusing it with delicious, pungent flavours. You will end up with soft, delicate aubergine contrasted with a crispy, crunchy breadcrumb topping. It really is quite divine!


They are delicious served like this with a fresh salad. You could make some roasted butternut squash chips too.
(Click HERE for how to make Butternut Squash chips).
Alternatively, serve with spaghetti and a simple tomato sauce which is equally delicious.

***

Happiness on a plate.

***

Tuesday, 28 March 2017 - , , , , , , , 2 comments

RECIPE : Warm Sumac Salmon with Rocket, Sweet Pickled Cucumber and Pomegranate Salad


This stunningly beautiful dish is an exotic and exciting fusion of flavours, textures and visual delights. The soft tones of pink and green compliment each other to the extent that it really has to be appreciated before consumption!
The soft, warm, citrusy salmon sits on a bed of sweet, crunchy pickled cucumber and peppery rocket, whilst the pomegranate seeds pop on the roof of your mouth releasing a sweet, tangy juice.
At 7sp/6pp/approx.350kcal, its a lovely lunch or light supper dish.


***


You will need:(per portion)


One 130g salmon fillet
Sumac (see post; CUPBOARD LOVE:SUMAC)
Fresh rocket leaves
Pickled cucumber(See post; RECIPE:Pickled Vegetables served with Chargrilled Beef)
Half a fresh pomegranate
Chopped fresh herbs- parsley, chives etc
Black Pepper
Lime juice


***


 Place some greaseproof paper onto a piece of foil and spray with a little Frylight sunflower oil. Pop the salmon fillet on the paper and sprinkle liberally with sumac and freshly chopped parsley, or any seasoning of your choice. Finish with some freshly ground black pepper and a squeeze of lime juice.
Wrap the salmon in the foil making a secure parcel. Bake for 15-20 minutes at 190 degrees centigrade.


***


While the salmon is baking, make up the salad. Arrange a generous handful of rocket into the serving bowl. Slice the pickled cucumber into slender chunks and de-seed the pomegranate.
I always use Nigella's method; Cut the pomegranate in half. Put the cut side of the fruit into the palm of your hand and hit the outside of the fruit quite firmly with a wooden spoon over a bowl. The seeds fall through your fingers into the bowl leaving the inedible parts in your hand to be discarded.


***


Once cooked, remove the salmon from the oven and allow to cool a little. Gently break the salmon by hand into large, chunky flakes on top of the salad. Sprinkle on some more sumac (the flavour is more pungent uncooked).
Dress the salad with some of the sweet pickled cucumber marinade. Add some more freshly chopped herbs and top with the pomegranate seeds. 


***


Simply divine.


***


HANDY TIP


If you don't have any homemade pickled cucumber, don't be tempted to use shop-bought ones as they are far too strong and acidic. Just slice or julienne some fresh cucumber and toss in some chinese rice wine vinegar sweetened with some artificial sweetener and seasoned with white pepper.


PRINT RECIPE HERE
Monday, 27 February 2017 - , , , , , , , , 2 comments

RECIPE : Creamy Smoked Haddock & Leek Pancakes topped with Chorizo ‘Breadcrumbs’


It's easy to forget how delicious savoury pancakes can be. One of my favourite flavour combinations is smoked haddock and leek with chorizo, so I decided to combine all three ingredients with some WeightWatchers thick cream to make an amazing creamy filling for these pancakes. I've blitzed the chorizo into tiny 'breadcrumbs' and fried them until crispy to make a fabulous sprinkle topping.

This recipe works out to 10sp/9pp/approx 400kcal per serving
(for 2 filled pancakes)

***

RECIPE : Serves 4
(2 pancakes per serving)

For the pancakes; 

125g plain flour
1 medium egg
125ml skimmed milk


For the Filling;

3 medium leeks
400g smoked haddock fillets, skin removed
4 tablespoons skimmed milk
120g Weight Watchers West Country Thick Cream
1 teaspoon wholegrain mustard
fresh dill
black pepper
1 tablespoon cornflour mixed with a little cold water

For the Chorizo ‘Breadcrumbs’;

80g chorizo sausage, diced

***


Make the pancake batter by sifting the flour. Make a well and add the egg. Whisk together, gradually adding the milk until you have a smooth batter.
Make 8 small-medium pancakes in a hot pan using low fat cooking spray.


Slice the leeks finely and fry gently for around 10 minutes in a little low fat cooking spray until soft.
Cut the smoked haddock into small cubes. Add to the leeks with 4 tablespoons skimmed milk. Pop a lid on the pan and poach gently for about 5 minutes until the fish is cooked.


While the fish is cooking, pop the chorizo into a food processor and blitz until it resembles fine breadcrumbs. Fry in a pan with no added oil until crispy.


When the fish is cooked, add the Weight Watchers cream, wholegrain mustard and a few sprigs of dill. Season to taste with black pepper. Add the cornflour to thicken the sauce. Mix very gently so that the fish doesn’t break up too much.


Serve by adding the creamy fish sauce into the warm pancakes and sprinkle with chorizo breadcrumbs before rolling up. Allow 2 filled pancakes per person.

***

Savour the flavour.

***